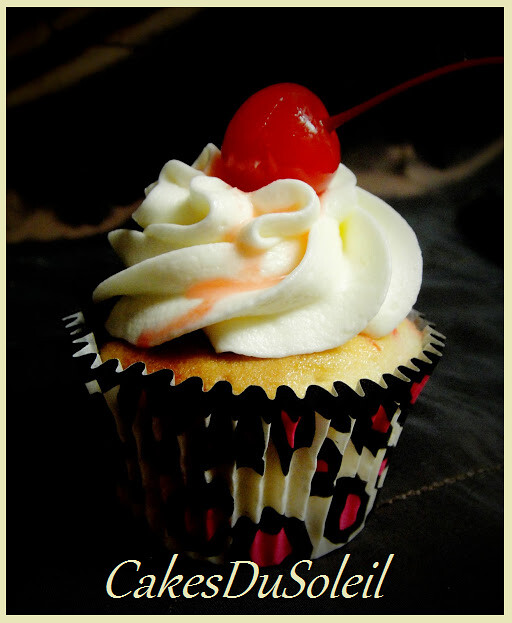
This is an inexpensive, but sturdy method for building a cupcake tower. I have tried a few different ways before, but by far, this is the easiest and most sturdy one that I have built, so I wanted to share it with you all.
I always use foam core for making my cake boards, and there is usually about a 5-6 inch strip left over. Thinking I can use it for future use, I typically save them. Now I found that use! I needed 4" wide pieces of 1/2" foam core to create the platform for the tower; and using left over pieces of foam core can really save on the cost.
Another way to save on the cost is to use a craft store coupon. Also, Hobby Lobby and Michaels frequently run sales on foam core.
Here is the list of supplies you will need for the project:
1/4" Foam Core (2 boards)
1/2" Foam Core
Exacto Knife
Pencil
Ruler
Cake Pan (to use as a tracing guide)
Straight Pins
Craft Glue
3/8" Ribbon
Wrapping Paper, poster board, or foil (Opt)
Adhesive spray (Opt)
1.) Begin by deciding what size and how many tiers you will want your tower. An easy way to get a mind's eye view is to stack cake pans.
For my project, I chose 18", 13", and 8" rounds.
2.) Using your cake pans as a tracing guide, mark your circles on 1/4" foam core, then carefully cut them out with the exacto knife. Take your time on this step, cutting the circles as perfectly as possible. This really effects the presentation.
NOTE*(At this point, you can cover your circles with a pretty paper, poster board, or foil. Just spray with adhesive spray, then cover front and back.) Since the one I was made needed to be white anyway, I just left it "as is".)
3.) Mark and cut the 1/2" foam core into 4" strips. These will create the platform. Again, measure twice and cut carefully, as the cut of the platform effects the stability of the whole tower.
You will need two of each length for every upper tier.
The length is the strip will be "diameter minus 2 inches". For instance, since I chose 13" and 8" upper tiers, I needed two each platform strips measuring 11" and 6".
4.) Butt the strips together and mark the center. Then measure 1/4" from center on each side.
With a ruler, trace a two vertical line 2" in length from the edge of the strip, as shown.
Cut these two inch strips out, creating a notch.
Place the notched side of platform strips together and insert, creating a stand.
Stack your stand and check stability.
If it is not stable, then your cut was inaccurate.
Remeasure the width of your strips, shore it up and recheck the stability.
5.) Cut the ribbon into 5" lengths. Glue to the edges of the platform. Run a bead of glue around the edges of the rounds, then attach ribbon.
6.) Mark the center of each round. Push a straight pin through the center of each tier. Run a bead of glue onto the tops and bottoms of the platform and insert pins into center for perfect alignment.
Remove pin. Allow to dry.
Here is the Cupcake Tower set up for my great-nephews' birthday Ninjago tournament. Just ignore the fact that I didn't manage to get the top cake centered!! Sheeesh! The good news is that my little guys didn't notice or didn't care!!
Have fun. Be Creative. Your cupcake tower will be hit!
Tutorial and Photography by Jacque Benson
All rights reserved 2013


I didn't want to have to build a cupcake tower for my daughter-in-law's baby shower, so I hot glued to plastic round party platters onto wedding cake columns and made a two tear holder. It came out great.
ReplyDeleteThis is a neat and easy to follow guide! Your cakes are beautiful!
ReplyDelete